Outputs
Outputs are generated documents. On the Output page you have the tabs: Labels, Documents, Printers, Printer Models, Thermal Options, Manage Outputs, Manage Reports and Report Categories. The App shows what is mandatory. The sections below only cover key points.
Labels
TopClick + ADD LABEL to add a new one, or select a row, and click Edit.
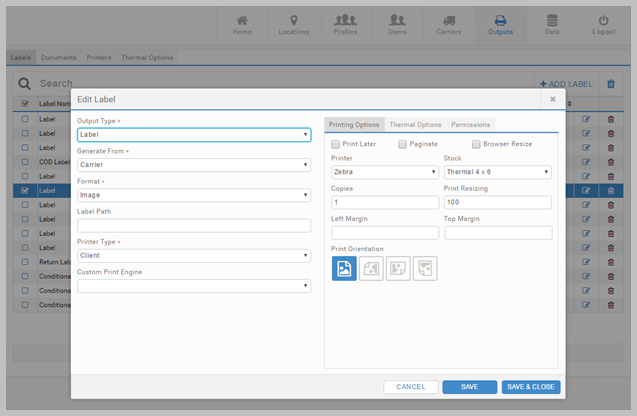
Outputs page - Labels tab - New/Edit popup - Key points
- Printer Type has a number of options including:
- Client. This directs a URL of the output file to the user's browser and relies on the browser's printing capabilities. The browser loads the image and lets the user choose which printer to print to. To complement this printer type, you can select Browser Resize and specify a resize percentage so that the browser can scale the image to fit whichever paper type has been selected for printing. Resizing is only available for Client printing.
- Response. This requires a HubCapp Peripheral Agent. Response printing is generally faster than client printing, and supports Thermal options.
- HubCapp. This is for Blackbox printing only. For normal printing through a HubCapp Peripheral Agent, the Printer Type should generally be set to Response.
- Windows. This sends outputs to a print queue on the server. If it doesn't exist, add the print queue on the Outputs > Printers tab.
For each carrier, reference topics listing their outputs. This includes supported Printer Type and Format combinations. You can access these topics from the Carriers List.
- HubCapp Machine Name. This setting only applies to Blackbox printing through HubCapp. It sends requests to a specific HubCapp Peripheral Agent, overriding the default behavior of directing requests to agents identified by Logistic Server username. See Blackbox printing - Machine Name for details.
- Copies. The number of copies produced. Only applies to Windows printing.
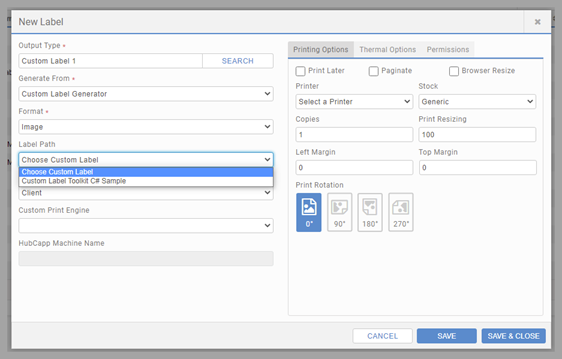
- Set Generate From to Custom Label Generator to operate with custom labels. Configure the Label Path field to the custom label created via the Custom Labels section of the Data tab's Reference Data page.
Documents
TopClick + ADD DOCUMENT to add a new one, or select a row and click Edit.
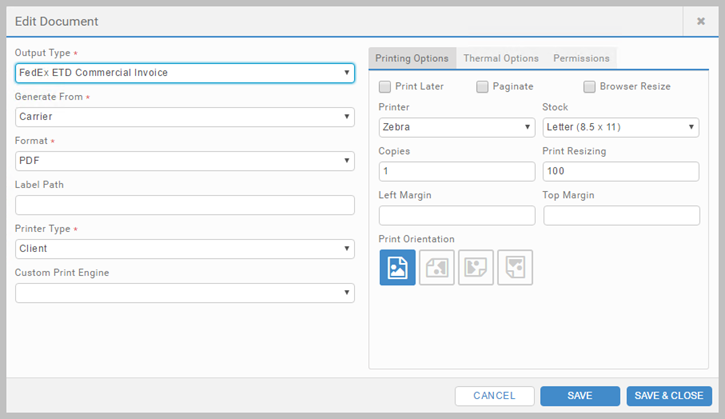
Outputs page - Documents tab - New/Edit popup - Key points
- Many of the setting are covered in preceding section.
Printers
TopClick + ADD PRINTER to add a new one, or select a row and click Edit. Below the image, we only document key points.
Outputs page - Printers tab - Key points
- + ADD PRINTER adds a row to the table. Complete the detail, and then click the Save icon at the end of the row.
- Note that the printer selected must be enabled via the Printer Models tab.
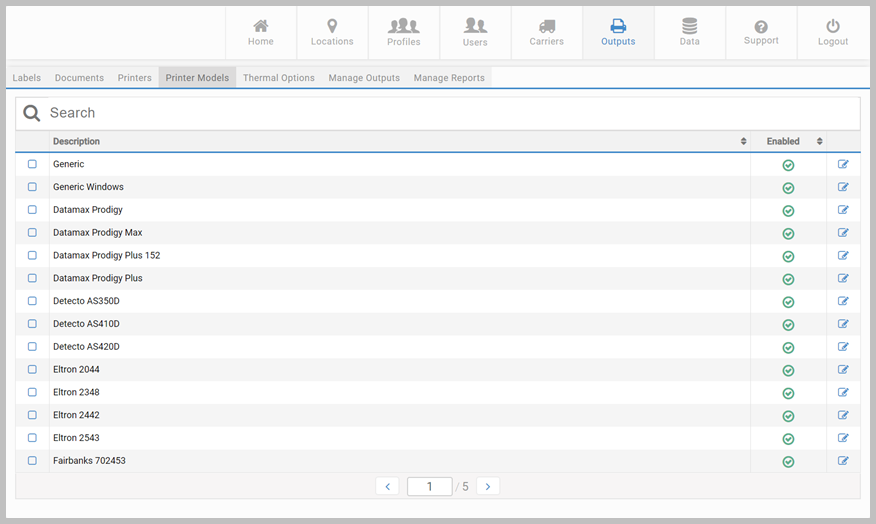
Printer Models
TopUse the Printer Models tab to manage Printer list data. The Enabled column indicates if the printer model is visible in the list.
Thermal Options
TopClick + ADD OPTION to add a new one, or select a row and click Edit.
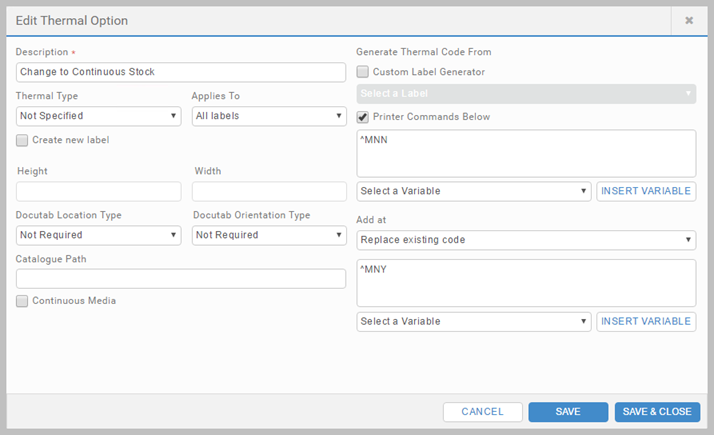
Outputs page - Thermal Options tab - Key points
- Docutab Location Type. This sets the Docutab location to Top or Bottom depending on your requirements. This defaults to Not Required.
- Catalogue Path. This field describes the label path.
- Continous Media checkbox. Select this to enable continuous printing as opposed to printing labels separately.
- Custom Label Generator checkbox. Select this to enable the dropdown list and choose your label type.
- Printer Commands Below checkbox. Select this to enable a text box and enter your chosen printer commands. Choose a variable using the dropdown below the text box and click INSERT VARIABLE to add it to the code.
- Add at dropdown. Use this dropdown to choose where the variable is added. If Replace existing code is selected this enables a further text box and variable dropdown list. If selected, the options add at the end/the start will leave the text box disabled.
Generate Thermal Code From options
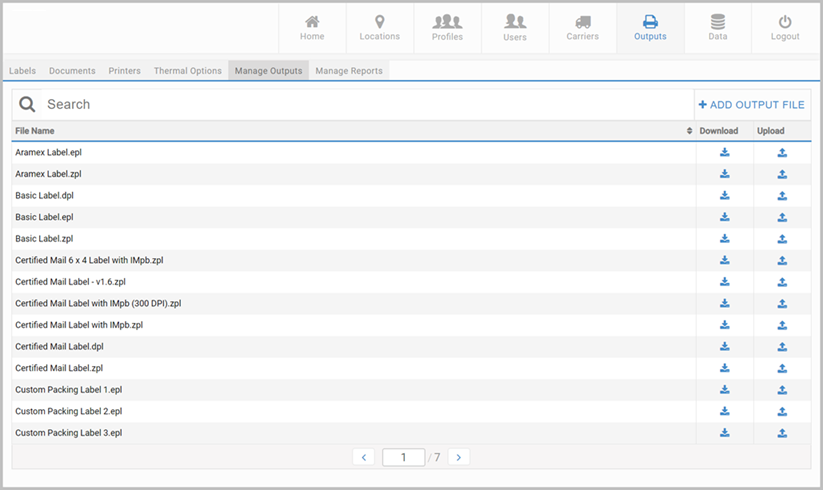
Manage Outputs
TopUse the Manage Outputs tab to maintain your configured outputs. Use the icons in the Download and Upload columns to action your selected output. Uploading a file will replace the existing entry. Select + ADD OUTPUT FILE to add a new file; a popup presents enabling you to choose the file from your local file system.
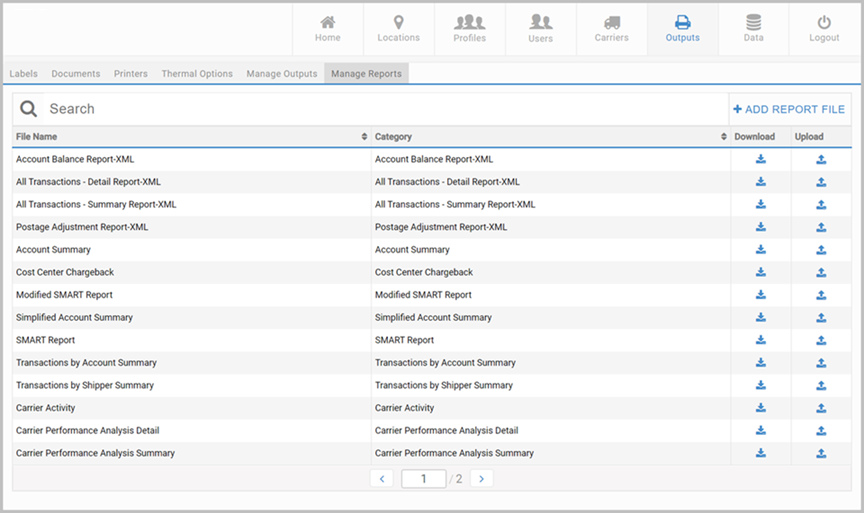
Manage Reports
TopUse the Manage Reports to maintain your Transtream reports. When adding new reports using the +ADD REPORT FILE button, you must enter a name in the Report File field, set the Type and Category. The category is the same as when generated within the Reports App (Accounting, Carriers, PB Shipping API - USPS), or can be assigned to a new custom category. Categories can be created when adding report files, or using the Report Categories tab. Use the icons in the Download and Upload columns to action your report.
Custom reports
You can also use the tab to add and manage custom reports. Before uploading a custom report file you must have your chosen custom report written and mapped to the Custom Reports stored procedure. For detail on the stored procedure, locate the most recent Database Definition on the Developer landing page. Navigate to: Database Schema Documentation > User Databases > [Version] Transtream > Programmability > Stored Procedures.
Then, to upload custom report files:
- Select the +ADD REPORT FILE button.
- Select the BROWSE button to select your chosen report from your local system.
- Set the Type field to Custom Report.
- Assign the custom report to the relevant Report Category.
For a list of all available reports, see Use the Reports App.
Reports Editor
Reports and certain outputs downloaded from the Administration App can be edited using the Reports Editor, available via the Downloads page. Install the editor on your local machine, and modify the outputs and reports as required. Note that only outputs with the format .rpx can be customized in the editor. See Reports Editor for detail. The altered files can then be reuploaded into the Manage Outputs and Manage Reports tabs for use within Transtream.
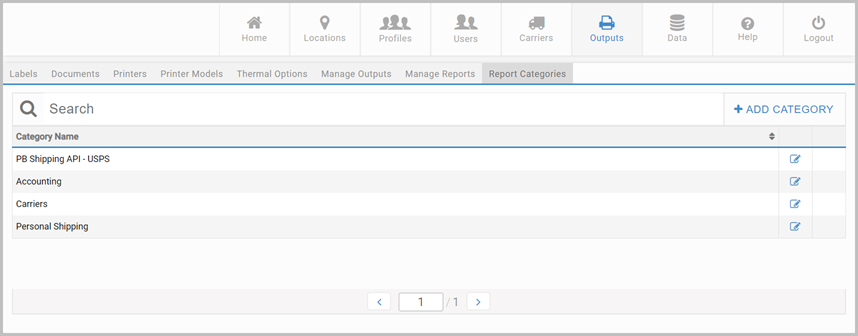
Report Categories
Use the Report Categories page to add new categories which can be assigned to reports. Note that the base data categories cannot be deleted.
- Carrier Components lists supported carriers and links to their reference topic (which includes output details).
- HubCapp Peripheral Agent details the software you need to make local printers (and scales) available to Apps.
- The Administration App gives an overview of the App and all its pages.