Domestic shipments
The App lets you process a domestic shipment, and print all its labels and documents. You can process a single or a multipack shipment with as many items as required per package. Here we outline this process and its steps. Use this as an overview and quick reference.
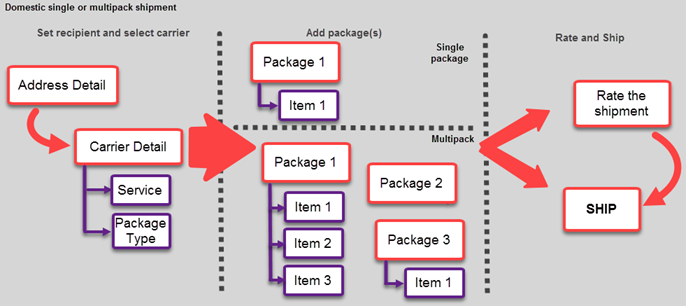
- Specify the address detail of the sender and the recipient. You can also provide additional detail, such as a return address, billing options, etc.
- Select the best carrier, service and package type based on your business objectives. Alternatively, enable automatic carrier selection.
- Set up package detail (weight, dimension, contents, etc.).
- If shipping more than one item in a package, add them into the package. Optionally, provide item detail (weight, dimension, description, etc.). Note that only total weight of the entire package is required.
- If shipping more than one package, add another, and repeat the package setup steps. Note that if the next package is similar in weight and contents, you can clone the one you have already set up.
- Ship, or rate the shipment and then ship. You can review the total shipping cost, and change the carrier, if required.
The steps
Here's how to process a domestic single or multipack shipment in the App. When successful, the App generates all relevant labels and documents, and makes them available to view and print.
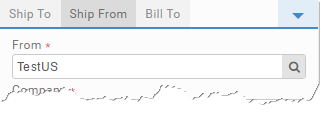
- Open the App, and review the sender's address (Ship From). The address fields are automatically populated with the currently logged-in user's address detail. Change the details, if you wish to ship on account of somebody else.
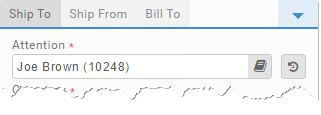
- Select and validate the recipient's address (Ship To). Use the Address Book, or manually enter the details.
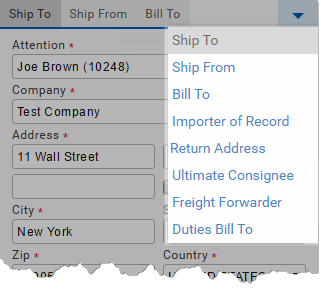
- Optionally, navigate between the remaining tabs, and set up additional details, such as billing address and options, return address, etc.
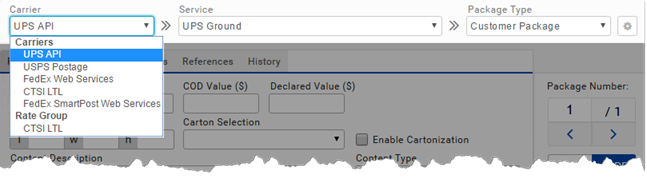
- Select a carrier, its service and package type, or select a rate group. If you select a rate group, on clicking RATE you access a popup (Rate Shop), and compare shipping price, delivery time and whether the service is guaranteed.
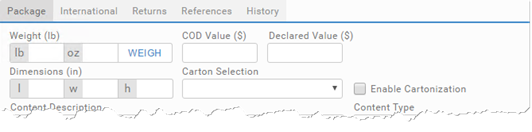
- Set up package detail: its contents, weight, dimensions, etc. The Weight field is mandatory. All other fields are optional.
- Optionally, if you want to specify the item(s) included in the package, add them into the Contents table at the bottom of the App. This step is not mandatory, so all fields are optional.
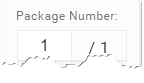
- If shipping more than one package, provide the number of packages shipped. You must provide weight for each package that you add. Additionally, you can specify the item/items shipped in each package, as described in the step above.
- Do one of the following:
- Click RATE to review the shipping cost, and then click SHIP to conclude the process.
- Click SHIP to conclude the process.

The domestic shipment is now processed, and you should be able to view and print its labels and documents.
See Use the Warehouse App for links to detailed content on the pages and components used in these steps.