Use Data Management
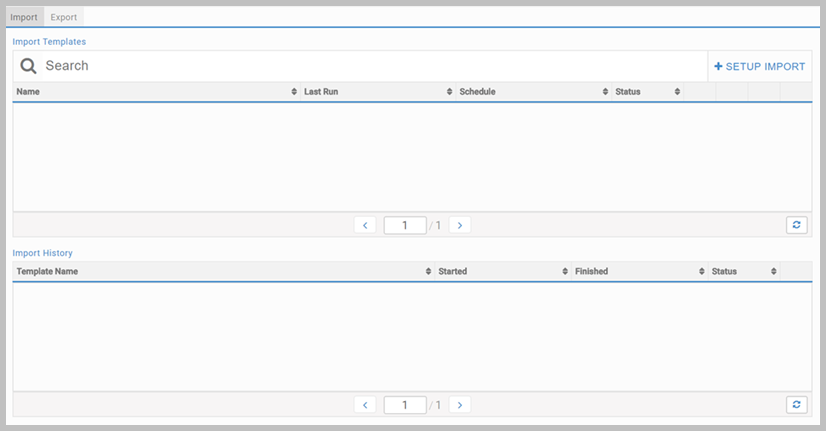
Use the Data Import and Data Export tabs to manage your Transtream data. As part of the process, map custom data to the database structure. Data import supports adding new database rows and updating the existing ones. Use this feature when handling big volume data, or when regularly updating Transtream.
In detail, you can:
- Import data.
- Export data.
- Create a reusable import or export template.
- View the history of imported and/or exported data and its status.
All data you manage through this feature is stored in the Transtream database, and you can add, update or delete it as part of import and export. For detail on supported import and export methods, see Locations.
Setup Import or Export
TopUse the Import or Export tabs to set up an import or an export process through the relevant setup wizard.
If using the functionality in the Administration App, the tabs are located in the Data page.

To setup Import or Export:
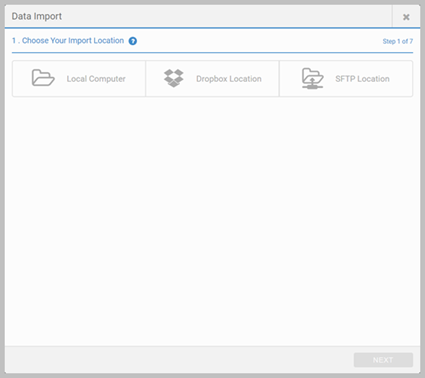
- Select the + SETUP IMPORT or + SETUP EXPORT button to open the Import/Export wizard.
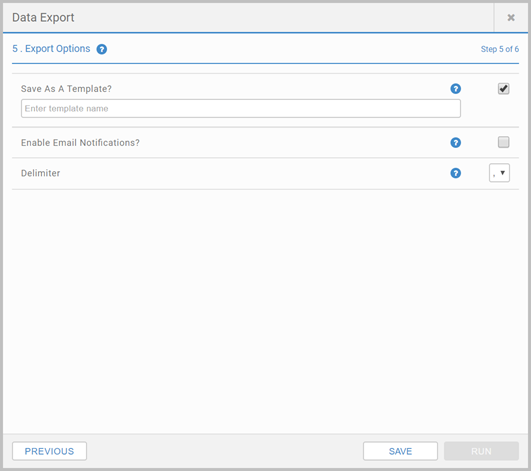
- Follow the steps provided in the wizard. As part of the process, you'll be asked to choose your import location, confirm or create new mappings, and choose the Import/Export options.
- Click RUN, or select to go back, and set up another file export/import process. You can run multiple processes simultaneously.

Import Data
TopUse import to create new rows, or update existing ones, in shipping database tables.
Export Data
TopUse export to extract shipping and transactional data from the database.
Key detail:
- Only mapped columns will appear in the export file.
- If no data is found in the database table, a file is still produced, but with no content and no headers.
- If any column is removed during export, the column and any data included are removed from the exported file.
- During mapping, you can delete both ID mappings or all current mappings using the icons at the bottom of the wizard. Deleting the ID mappings means that the exported file can be used more readily for import, as the product will not search for the ID columns to update.
View History
TopImport or export, whether successful or failed, is listed in the History tab. For more details on the status of an entry, select the icon at the end of the row to display additional information from the import or export wizard.
Templates for Import or Export
TopTemplates save the details and mappings of an import or export, allowing you to quickly perform an import or export without repeating configuration. A template is saved to the database with the following detail:
- import/export file detail, mappings, search filters, etc.
- import/export method, local or remote
- import/export file content (for local only)
- import/export options, email notifications, scheduling
At the end of an import or export process, you will have the option to save the current configuration as a template. All saved templates are displayed in the Import Templates or Export Templates tab, where they can be re-executed, edited, or deleted using the icons in the row.
|
|
|
|
|
Shows history of the template use. |
|
|
Edits the template. Takes you back to the import/export wizard. All changes are applied real-time and saved to the database overwriting the current template settings. |
|
|
Deletes the template and all related options, email notifications and scheduled tasks. |

Schedule Data Management
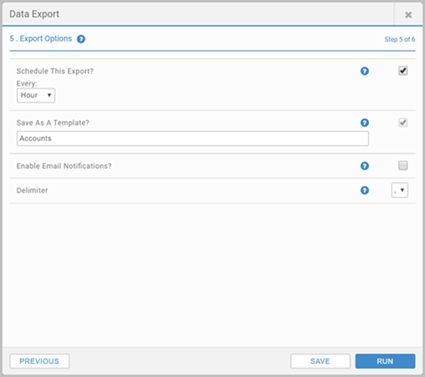
TopData imports and exports from remote destinations (Dropbox/SFTP) can be scheduled. Note that local imports and exports cannot be scheduled. This is configured within the Data Management wizard.

Select the frequency at which you want the import/export process to be automatically performed using the Every: dropdown. This can be set to Hour, Day, Week or Month. If not operating with a template, you will be required to save the current configuration as a template to run the process.
Once the import/export is processed, you can view its status and detail in the Templates section.

Set up email notifications
TopSet up an email alert containing the results of the import or export process using the Enable Email Notifications? checkbox in the Data Management wizard. Seperate multiple email addresses with a comma. To operate with email notifications you must first ensure that your system is set up to use emailing, and that the Import/Export Result settings are configured in the Administration App's Data page. See Import/ Export Result for detail.
Customize a template
Customize the logo and personalize the content of your email template. Changing variables is not permitted. See Customize the template for more details.
